Soil Sterilization
HOMEGROWN EXPERT GARDENING ADVICE
Intro
Sterilizing soil for greenhouse use is a good practice to reduce the risk of diseases, pests, and weed seeds in your growing environment. There are several methods to sterilize soil, and the choice of method depends on the size of your greenhouse operation and your specific needs.
Tools needed to complete task:
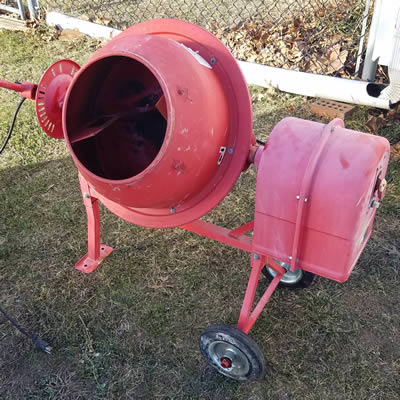
- 1 small cement mixer
- 1 propane weed torch
- A hand held digital thermometer
- 1 five gallon bucket
- Used potting / garden soil
Here are some common methods for soil sterilization:
Steam Sterilization:
Commercial Steam Sterilizers: If you have a large greenhouse operation, consider investing in a commercial steam sterilizer. These machines can heat the soil to high temperatures and kill most pathogens and weed seeds effectively.
DIY Steam Sterilization:
For smaller greenhouse setups, you can use a large, covered pot or tray. Fill it with soil, cover it with a lid or plastic sheet, and steam it by applying heat from a propane or electric burner. You'll need a soil thermometer to monitor the temperature. Aim for temperatures between 180°F to 200°F (82°C to 93°C) for at least 30 minutes.
Baking:
Spread the soil evenly in a shallow layer on a baking sheet or in a large, clean tray. Place it in the oven and bake at 180°F to 200°F (82°C to 93°C) for about 30 minutes. This method can be used for smaller quantities of soil.
Solarization:
This method involves covering the soil with clear plastic sheets during the hottest part of the summer. The sun's heat trapped under the plastic will raise the soil temperature, killing pathogens, pests, and weed seeds. Leave the plastic in place for 4-6 weeks to ensure thorough sterilization.
Chemical Sterilization:
Some chemical sterilization methods are available, such as using a mixture of calcium cyanamide and water. However, these methods can be harmful to the environment and may not be suitable for organic farming.
Microwave Sterilization:
For small quantities of soil, you can microwave it on high for a few minutes, stirring the soil periodically to ensure even heating. Be cautious when using this method as it can create hot spots, and excessive microwave use may damage your microwave.
Autoclaving:
Autoclaves are commonly used in laboratories to sterilize soil and other materials. If you have access to one, it can be a reliable method for small quantities of soil. After soil sterilization, it's important to handle the soil with care to prevent recontamination. Store the soil in a clean, covered container until you're ready to use it in your greenhouse. Additionally, consider adding beneficial microorganisms or mycorrhizal fungi to help rebuild the soil's ecosystem after sterilization.
Remember that soil sterilization is a one-time process, and maintaining proper greenhouse hygiene and sanitation practices is crucial to prevent future contamination. Proper ventilation, using clean tools and equipment, and monitoring for signs of disease or pests are all essential in maintaining a healthy greenhouse environment.